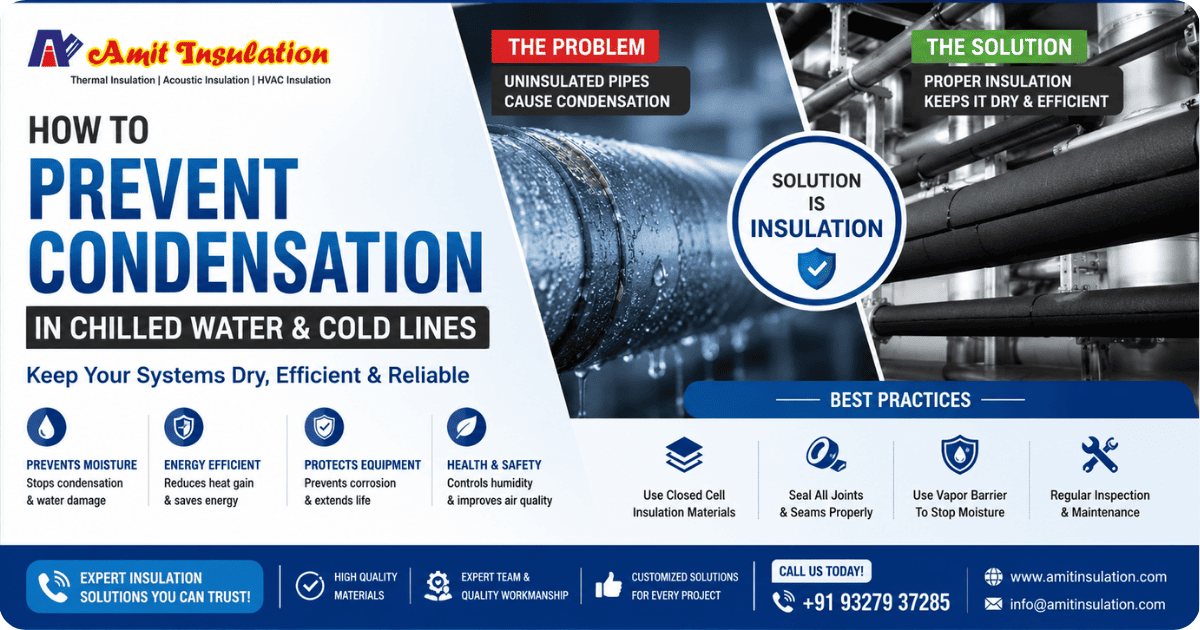
Every facility manager knows the sight: a puddle forming under a chilled water pipe, insulation turning soggy, and mold creeping along the ceiling tile below. If you want to prevent condensation pipe Insulation failures on chilled water and cold-water lines, you need more than a wrap of foam — you need the right material, the right thickness, and a sealed vapor barrier at every joint. This guide breaks down exactly how to stop pipe sweating on chilled water & cold lines, using field-proven methods that HVAC contractors, MEP consultants, and building owners can apply immediately.
What Causes Condensation on Chilled Water and Cold Pipes?
Condensation forms whenever warm, moisture-laden air touches a pipe surface that is colder than the surrounding air’s dew point. Chilled water systems typically circulate water between 4°C and 12°C, while ambient plant-room air can easily sit at 24–30°C with 60–70% relative humidity in Indian climates. The moment the pipe surface drops below the dew point, water vapor condenses into visible droplets — this is often called “pipe sweating.”
Dew Point and Temperature Differential
For example, in a plant room at 28°C and 65% humidity, the dew point sits close to 21°C. An uninsulated chilled water pipe running at 8°C is 13°C below that threshold, guaranteeing heavy condensation within minutes of startup. This is why cold water pipe insulation must be sized against local humidity data, not a generic thickness chart.
This same physics applies to plain cold-water plumbing lines, not just mechanical chilled water loops — any pipe carrying water below room temperature, whether it’s a domestic cold-water riser, a well-water supply, or a refrigeration line, is a candidate for condensation if it isn’t insulated correctly. The wider the gap between water temperature and ambient dew point, the faster and heavier the sweating.
Common Trouble Zones
- Valves, flanges, and strainers left uninsulated for “access”
- Butt joints and seams where vapor barrier tape wasn’t overlapped
- Pipe hangers and supports that compress or bypass the insulation
- Wall and slab penetrations with gaps around the sleeve
- Transitions where insulation thickness changes without a proper step-down detail
Signs Your Pipe Insulation Is Already Failing
Before assuming a system is protected, look for these early warning signs that condensation control has already broken down and that pipe insulation needs urgent attention:
- Visible water droplets or a damp film on the outer jacket of the insulation
- Discoloration, sagging, or a musty smell near ceiling tiles below pipe runs
- Rust or white corrosion streaks at pipe hangers, unions, or valve bodies
- Insulation that feels soft, spongy, or noticeably heavier than a dry section
- Recurring puddles at the same low point despite repeated cleanup
Any one of these signs means the vapor barrier has likely been breached somewhere upstream, and a full joint-by-joint inspection is needed rather than a spot repair.
Chilled Water Lines vs. Cold Water Lines: Does Insulation Differ?
Chilled water lines and domestic cold water lines face the same condensation mechanism, but the design targets differ slightly. Chilled water loops run continuously at 4–12°C and typically demand phenolic or closed-cell elastomeric insulation with a strict vapor-barrier perm rating, since they operate year-round under constant thermal load. Cold water plumbing, by contrast, fluctuates with supply temperature and usage patterns, so slightly thinner elastomeric sleeves are often sufficient — provided every joint is still sealed. In both cases, the underlying rule for how to prevent condensation stays the same: keep the outer insulation surface above the dew point at all times.
Why Preventing Condensation Matters for Your Building
Unchecked pipe sweating isn’t just cosmetic. Trapped moisture degrades insulation performance, corrodes metal piping, and creates the exact conditions mold and mildew need to thrive. The table below summarizes the real cost of ignoring condensation control on chilled water and cold lines.
| Risk | Impact | Root Cause |
| Mold & mildew growth | Health hazard, poor indoor air quality, remediation cost | Sustained moisture on wet insulation surfaces |
| Corrosion under insulation (CUI) | Pipe wall thinning, leaks, premature pipe replacement | Water wicking into insulation and sitting against metal |
| Energy loss | Higher chiller load, rising electricity bills | Wet insulation loses most of its R-value |
| Ceiling & structural damage | Stained tiles, weakened drywall, slip hazards below | Dripping condensate from uninsulated or failed sections |
| Insulation failure | Repeated replacement, recurring maintenance calls | Vapor drive through unsealed joints and thin insulation |
How to Prevent Condensation in Chilled Water & Cold Lines: Step-by-Step
Here is the exact sequence experienced insulation contractors follow to prevent condensation pipe insulation problems from day one.
Step 1: Calculate the Dew Point Before You Specify Anything
Use the plant room’s design temperature and worst-case relative humidity to calculate the dew point. Your insulation’s outer surface temperature must stay above this value at all times, including during monsoon humidity spikes. Skipping this calculation is the single biggest reason chilled water insulation projects need rework within the first year.
Step 2: Choose a Closed-Cell, Vapor-Retardant Material
Open-cell foam, standard fiberglass, and mineral wool without a vapor jacket will absorb moisture rather than block it. Closed-cell elastomeric foam or phenolic insulation with a factory-applied vapor barrier is the standard for chilled water and cold-water condensation control. Look for a vapor permeability rating of 0.02 perms or lower when comparing product data sheets.
Step 3: Match Thickness to Pipe Size and Humidity
Undersized insulation is the single most common cause of repeat condensation complaints. See the thickness table further below for guidance by pipe diameter.
Step 4: Seal Every Joint and Seam
Apply contact adhesive or self-sealing lap tape on all longitudinal seams and butt joints, with a minimum 25mm overlap. A single unsealed joint allows enough vapor ingress to defeat correctly sized insulation elsewhere on the same line.
Step 5: Insulate Fittings, Valves, and Supports Fully
Use pre-formed valve and fitting covers or fabricate mitered sections so there are no exposed metal surfaces. Specify insulated pipe clips or shields at every support point — a bare hanger touching a cold pipe becomes an instant condensation and thermal-bridging point.
Step 6: Protect Outdoor and High-Humidity Sections
For exposed runs, add UV-resistant cladding or aluminium jacketing over the vapor barrier, and increase thickness by one standard size in high-humidity zones such as coastal cities or basements near damp soil. Outdoor sections should also be checked for cladding fasteners that puncture the vapor layer, since a single screw hole can undo an otherwise correct installation.
Step 7: Document and Commission the System Properly
Photograph completed joints, record the insulation thickness and material used at each pipe size, and keep this on file. Proper documentation makes the 24-hour post-commissioning inspection faster and gives future maintenance teams a clear baseline to compare against.
You May Also Read:- Best Insulation Materials for High-Temperature Pipelines
Insulation Material Comparison for Condensation Control
Choosing between elastomeric foam, phenolic foam, fiberglass, and polyurethane depends on budget, space constraints, and fire rating requirements. Here’s how the common options compare for chilled water and cold-line applications.
| Material | Vapor Permeability | Best Use Case | Notes |
| Closed-cell elastomeric foam | Very low (built-in vapor barrier) | Chilled water, refrigeration, cold lines | Most widely used; flexible, easy to install |
| Phenolic foam | Very low with facing | High-performance chilled water systems | High R-value per inch, rigid, good fire rating |
| Fiberglass with ASJ jacket | Moderate; needs sealed jacket | Larger diameter hot & cold industrial lines | Requires meticulous vapor-barrier sealing |
| Polyurethane (PUF) preformed | Low with PU/metal cladding | Underground & outdoor cold lines | Excellent for long, straight runs and buried pipe |
Recommended Insulation Thickness for Chilled Water Pipes
Thickness recommendations below assume closed-cell elastomeric or phenolic insulation and a plant-room design condition of roughly 27–30°C at 60–70% relative humidity, which reflects typical conditions across North Indian cities. Always increase thickness by one size for coastal or continuously high-humidity environments.
| Pipe Diameter | Standard Humidity Thickness | High Humidity Thickness |
| Up to 25mm (1″) | 19mm | 25mm |
| 32–50mm (1¼”–2″) | 25mm | 32mm |
| 65–100mm (2½”–4″) | 32mm | 40mm |
| 125mm+ (5″+) | 40mm | 50mm |
Best Practices During Installation
- Insulate before the system is charged with chilled water, never after
- Work only in dry, low-humidity conditions — never install during rain or heavy monsoon humidity
- Never compress insulation at supports; use load-bearing insulated inserts
- Overlap all vapor-barrier tape and jacketing by at least 25mm
- Inspect every joint visually within 24 hours of commissioning to catch early condensation
Maintenance and Inspection Schedule
Preventing condensation pipe insulation failure doesn’t end at installation. A simple inspection cadence catches small vapor-barrier breaches before they become costly leaks or mold outbreaks.
| Frequency | Inspection Task | Action if Issue Found |
| After commissioning (24–48 hrs) | Check all joints and low points for sweating | Re-seal with matching adhesive/tape immediately |
| Quarterly | Visual check of valves, flanges, and supports | Replace compressed or displaced insulation |
| Annually | Full-length inspection of jacketing and cladding | Repair punctures; replace degraded sections |
| After any repair/rework | Re-verify vapor barrier continuity at cut points | Reseal cut edges before returning to service |
Why Choose Amit Insulation for Chilled Water & Cold Line Condensation Control
Amit Insulation designs and installs condensation-control insulation systems for chilled water lines, cold-water plumbing, HVAC ductwork, and industrial pipework. Our teams calculate dew point and thickness for your specific plant-room conditions, use closed-cell and phenolic materials with factory vapor barriers, and seal every joint to the same standard outlined in this guide. Whether you’re commissioning a new chiller plant or fixing a recurring sweating-pipe complaint, Amit Insulation delivers a fully documented, condensation-free installation backed by on-site inspection support.
Explore our chilled water and cold-line insulation services, or browse related guides on hot and cold insulation and scaffolding-supported installation for large plant rooms.
Frequently Asked Questions
1. What is the best way to prevent condensation pipe insulation failure?
The most reliable method is combining correctly sized closed-cell insulation with a continuous, fully sealed vapor barrier at every joint, valve, and support — thickness alone won’t stop condensation if the vapor barrier is compromised.
2. Why do chilled water pipes sweat even with insulation installed?
Sweating usually means the insulation is too thin for local humidity, a joint or seam wasn’t sealed, or a valve/fitting was left uninsulated, allowing warm air to reach the cold pipe surface.
3. What thickness of insulation stops condensation on cold water pipes?
For most Indian plant-room conditions, 19–25mm is adequate for smaller pipes, while larger diameters and high-humidity areas need 32–50mm; always size against the calculated dew point rather than a fixed rule of thumb.
4. Is elastomeric foam or fiberglass better for chilled water lines?
Closed-cell elastomeric foam is generally preferred for chilled water and cold lines because it has a built-in vapor barrier, while fiberglass needs a separately sealed jacket to achieve the same protection.
5. Can condensation on pipes cause mold growth?
Yes. Sustained moisture on or inside pipe insulation creates ideal conditions for mold and mildew, which can spread to nearby ceilings, walls, and HVAC components if left unaddressed.
6. How often should chilled water pipe insulation be inspected?
Inspect within 24–48 hours of commissioning, then quarterly for valves and supports, and at least once a year for the full pipe run and outdoor cladding.
7. Do valves and fittings need insulation too, or just the straight pipe runs?
Valves, flanges, strainers, and fittings need full insulation coverage; they are typically the largest source of exposed metal and the most common condensation trouble spots on a chilled water line.
8. What causes insulation to fail and let condensation through?
The leading causes are unsealed or poorly overlapped joints, insulation compressed at pipe supports, punctures in the outer jacket, and thickness that wasn’t adjusted for local humidity.
9. Can I insulate chilled water pipes myself, or should I hire a specialist?
Small residential cold-water lines can often be self-insulated with pre-slit foam sleeves, but commercial chilled water systems benefit from a specialist who can calculate dew point, select the right material, and guarantee sealed vapor barriers across the whole system.
10. How does Amit Insulation ensure condensation doesn’t return after installation?
Amit Insulation calculates thickness against actual site humidity data, uses vapor-barrier-rated materials, seals every joint and fitting to specification, and offers post-installation inspection so any early sweating is caught and corrected quickly.
Conclusion
To reliably prevent condensation pipe insulation problems on chilled water & cold lines, you need four things working together: a dew-point-based thickness calculation, closed-cell or vapor-retardant material, fully sealed joints and fittings, and a routine inspection schedule. Skipping any one of these is why condensation keeps coming back even after insulation has already been installed. For a system that’s engineered correctly the first time, Amit Insulation provides end-to-end chilled water and cold-line insulation designed specifically to stay condensation-free.